
What steps are involved in a typical wedding ring resizing?
A typical wedding ring resizing involves a jeweller assessing the ring, confirming the required size, selecting a suitable technique, and carefully altering the band. The ring is then checked for shape, stone security and finish before being polished and returned for you to try on.
A typical wedding ring resizing involves an initial inspection, accurate measurement, selection of an appropriate technique, careful alteration of the band, and a final quality check. The jeweller confirms the required size with you, assesses the ring’s metal, profile, stones and construction, then reshapes or adjusts it before checking the finish, security and fit.
The process usually follows these stages:
- Assessment of the ring
The jeweller examines the wedding ring before recommending any work. This includes identifying the metal, checking the band’s thickness and profile, looking for previous resizing marks, and inspecting solder joints, engraving and any signs of wear. If the ring contains diamonds or other gemstones, their settings are checked for movement or damage. This assessment helps establish whether resizing is suitable and whether any repairs should be completed at the same time. - Confirming the required size
Your finger is measured using professional ring gauges, and the jeweller will usually consider how the ring feels rather than relying on a single measurement. Finger size can vary with temperature, time of day and natural swelling, so the fit should be assessed when your hands are at a normal temperature. The fit should allow the ring to pass over the knuckle while sitting securely without feeling tight or leaving excessive movement. - Choosing the resizing method
The appropriate technique depends on how much adjustment is needed and on the ring’s design. To make a plain precious-metal band larger, a jeweller may carefully cut the lower part of the shank, insert a matching section of metal and solder or laser-weld the join. The added metal is then shaped and finished so that the alteration is discreet. - Protecting stones and design details
Rings with gemstones, intricate shoulders, milgrain edges, pavé settings, patterning or full-circle designs require particular care. The alteration is normally planned in the least visible and structurally safest area, often at the base of the band, but the exact position depends on the design. A ring may need additional setting checks before and after the work, as changes to the band can affect the tension and alignment of nearby stones. - Altering and reshaping the band
The jeweller makes the required cut or adjustment using a technique suited to the metal and construction. After joining the band, it is carefully brought back to a true round or to its intended shape. The shoulders must remain even, the ring must sit correctly on the finger, and any adjoining wedding or engagement ring should continue to align properly where the design requires it. - Finishing the alteration
Once the size and shape are correct, the join is blended into the surrounding metal. The area is filed, polished and, where appropriate, given the same surface finish as the rest of the ring. A brushed, satin, textured or rhodium-plated finish may require additional finishing work so that the resized section does not look noticeably different. - Final inspection and fitting
The completed ring is examined for a secure join, a smooth interior, an even profile and any remaining marks from the work. Gemstone settings are checked for movement, and the ring is cleaned before collection. Trying it on is an important final stage: the jeweller can assess how it passes over the knuckle, how it sits during normal movement and whether any minor adjustment is appropriate.
A small increase may sometimes be achieved by gently stretching a suitable plain band, although this is not appropriate for every ring. Stretching can alter the band’s proportions and is generally unsuitable for rings with stones around the circumference, detailed shoulders or delicate construction. To make a ring smaller, the jeweller normally removes a section from the shank before bringing the ends together and joining them securely.
The time required depends on the metal, construction, amount of resizing and whether stones or detailed finishing are involved. A plain band may be relatively straightforward, while a patterned, engraved or stone-set ring may require more planning and specialist work. Some rings, including designs made from particularly hard metals or with a continuous pattern, may have limited resizing options.
Before work begins, it is sensible to discuss the target fit, any previous resizing, the position of an existing join and whether you want engraving or surface finishes preserved. If the ring is visibly damaged, has loose stones or has already been altered several times, repair and structural assessment may need to come before resizing. A careful process should leave the ring correctly proportioned, securely finished and faithful to its original design.
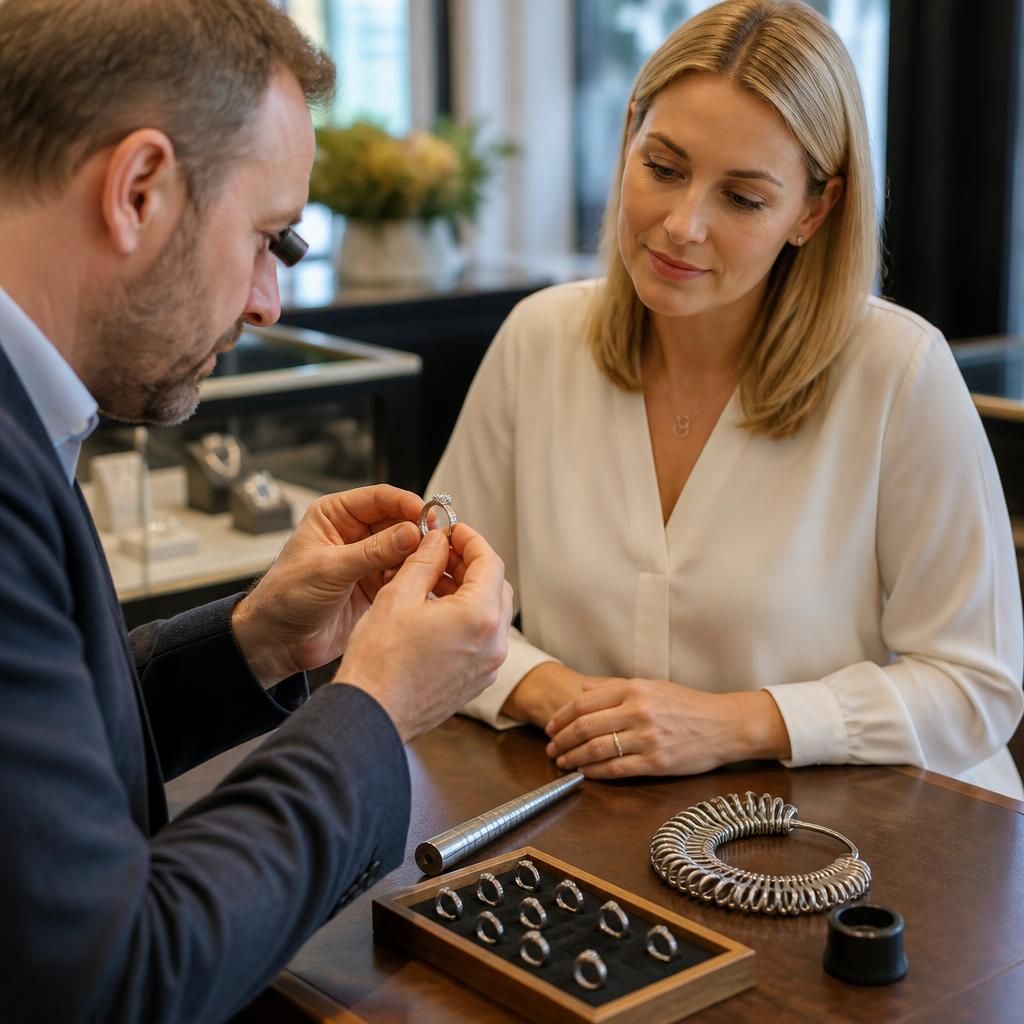
A typical wedding ring resizing begins with an assessment of the ring and a careful check of the required fit. Your finger is measured with professional ring gauges, while the jeweller considers how the ring passes over the knuckle and sits during normal movement. This helps avoid relying on a size that feels correct only when your hands are unusually warm or cold.
The ring is then inspected for its metal, band profile, previous alterations, gemstone settings and any signs of wear. These details determine whether the band should be enlarged, reduced or adjusted using a different technique. Once the alteration is complete, the join, shape, finish and stone security are checked before you try the ring on, allowing any minor fit issue to be identified before collection.